


TL;DR
PlanetScale is a MySQL-compatible serverless database platform. Since its database service is a bit different from the actual MySQL, there are some limitations that you can't ignore and must resolve to be able to work with their services. This post is an introduction to django-psdb-engine package which allows you to resolve PlanteScale's limitations and connect your Django project to your PlanetScale databases with no pain.
What PlanetScale Suggests
In PlanetScale documentation, you can see that you need to clone the PlanetScale's customized database engine and place it into your project and use it as a self-made Django application.
Long story short, I faced some issues the first time I tried connecting my Django project using the official method.
If you're using Git as your main VCS, you can see some conflicts due to the duplication of both your project-level
.gitdirectory and the recent cloned engine. You need to remove thedjango_psdb_engine/.gitdirectory first!The next issue is with
mysqlclientpackage which django_psdb_engine requires to be able to work fine. You need to install it on your own. There might be a possibility of incompatibility between themysqlclientversion you establish with the cloned engine.Finally, if you are working with tens of applications in your Django project, you may want your third-party engine to be placed somewhere like in your venv
site-packages, not your project's actual root path.
Now, let's use my method which resolves all explained issues and concerns.
Create Account on PlanetScale
If you've already got your PlanetScale account, skip this section.
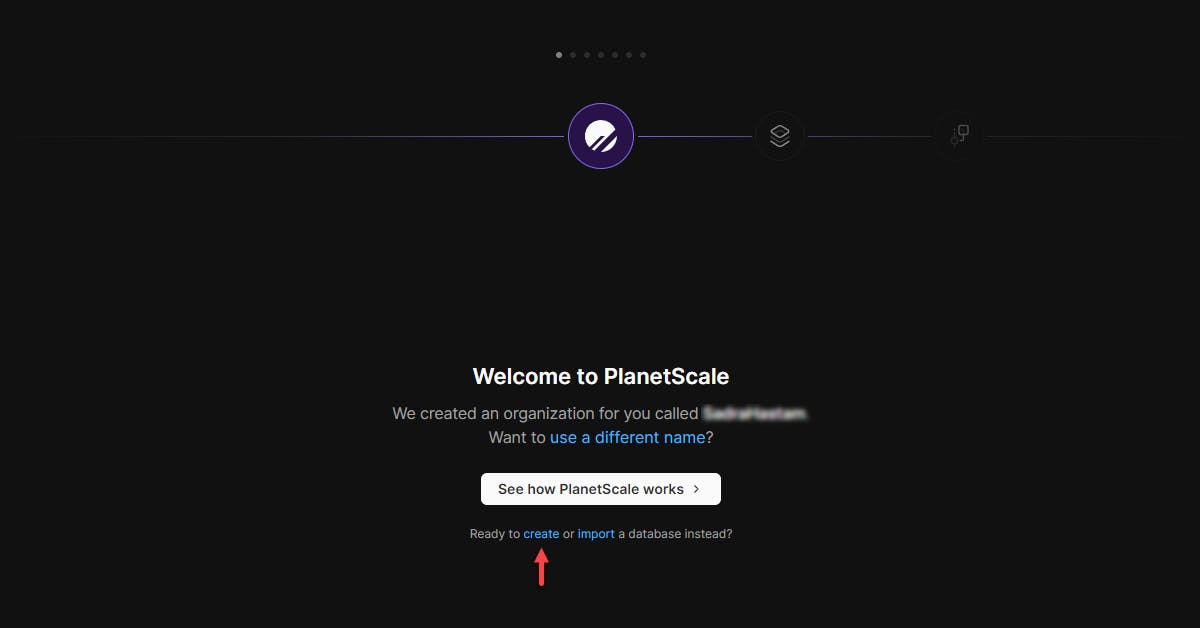
Create a new account or log into your account here and follow your way towards the dashboard.
Time to create the database. Once you've logged in, you can see the following intro which allows you to either import your existing database or create a new one.
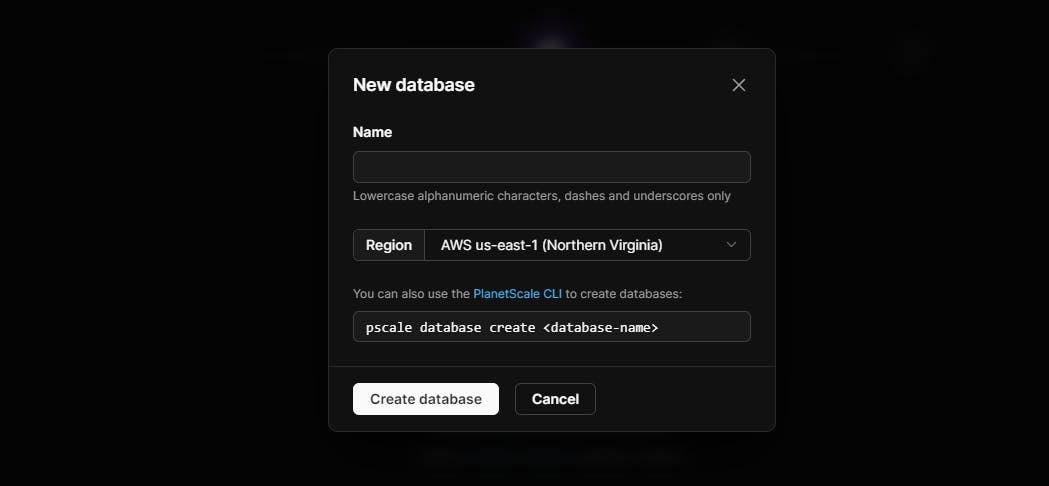
Now, you need to do some setup. Choose a name for your database and select the region. Since PlanetScale stores your databases on AWS services, you can choose the region between AWS regions.
Once your database is initialized, click the "Connect" button and get your credentials.
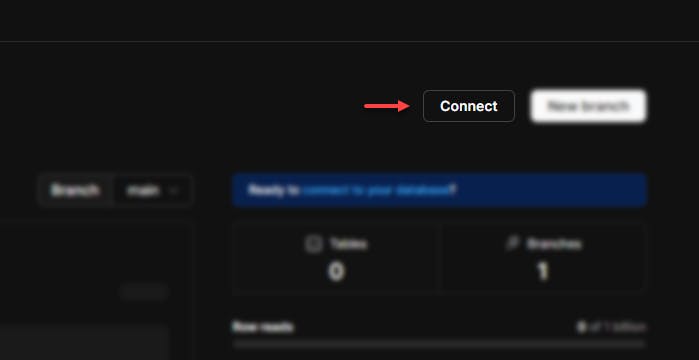
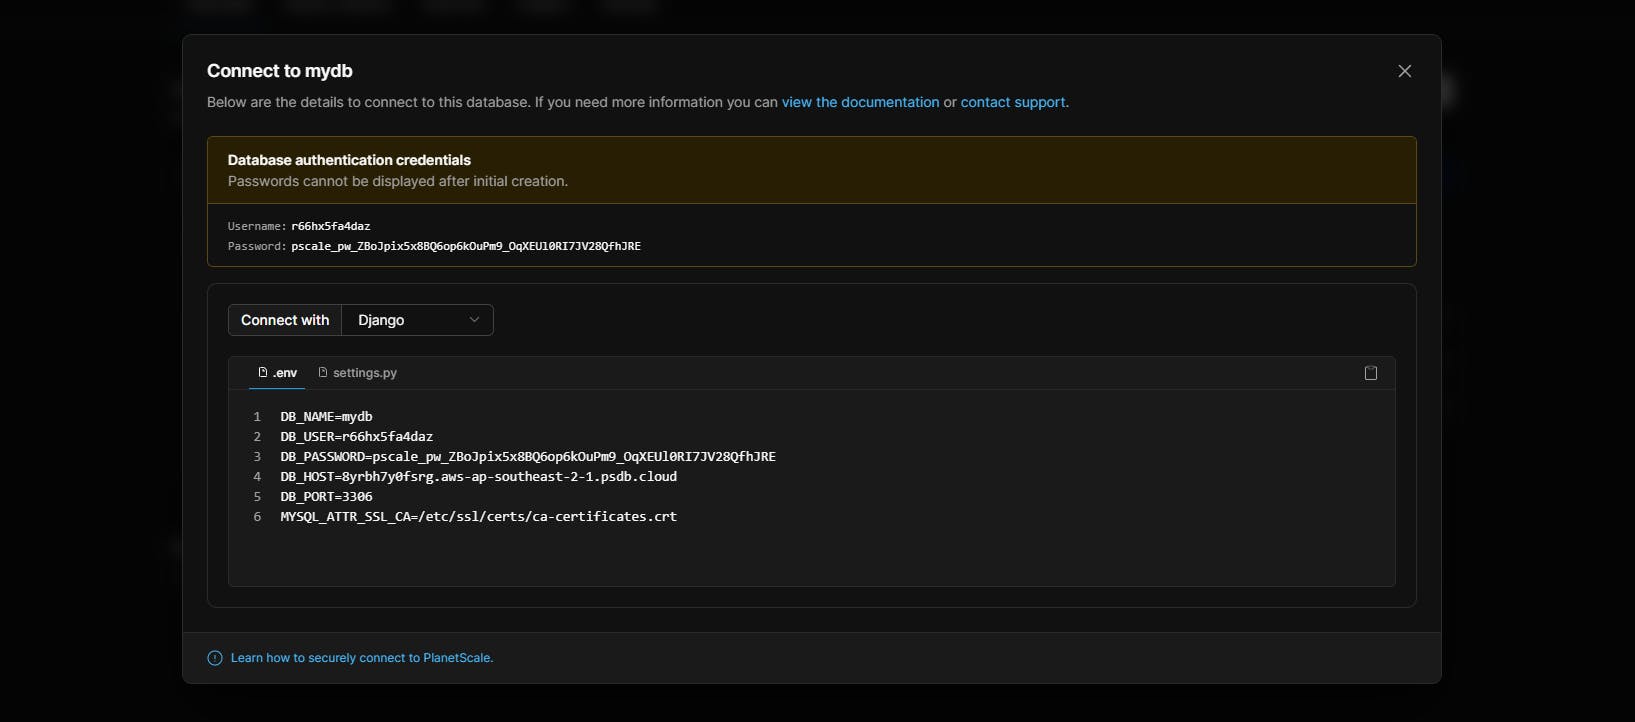
Check out both .env and settings.py tabs. Make sure you've stored them in your project correctly.
Connect Your Django Project
Install django-psdb-engine package and update the ENGINE field from settings.py.
$ pip install django-psdb-engine
Update your settings.py and change the ENGINE field to apply the limitations.
DATABASES = {
  'default': {
    'ENGINE': 'django_psdb_engine',     # new
    'NAME': os.environ.get('DB_NAME'),
    'HOST': os.environ.get('DB_HOST'),
    'PORT': os.environ.get('DB_PORT'),
    'USER': os.environ.get('DB_USER'),
    'PASSWORD': os.environ.get('DB_PASSWORD'),
    'OPTIONS': {'ssl': {'ca': os.environ.get('MYSQL_ATTR_SSL_CA')}}
  }
}
Charset Option
New PlanetScale databases are created on MySQL 8. PlanetScale only supports utf8, utf8mb4, and utf8mb3 character sets.
Since Django uses the utf8 charset by default which points to MySQL utf8mb3 charset and it's deprecated in MySQL 8, you may need to add {'charset': 'utf8mb4'} to OPTIONS in order to use a specific supported set and migrate your changes with no problem. utf8mb4 is supported by both MySQL 8 and PlanetScale.
...
-'OPTIONS': {'ssl': {'ca': os.environ.get('MYSQL_ATTR_SSL_CA')}}
+'OPTIONS': {'ssl': {'ca': os.environ.get('MYSQL_ATTR_SSL_CA')}, 'charset': 'utf8mb4'}
...
Finally, migrate changes and enjoy using your new database.
$ python manage.py migrate
Final Word
Hope this quick walk-through guide helped you build your first PlanetScale database and connect your Django project to it.